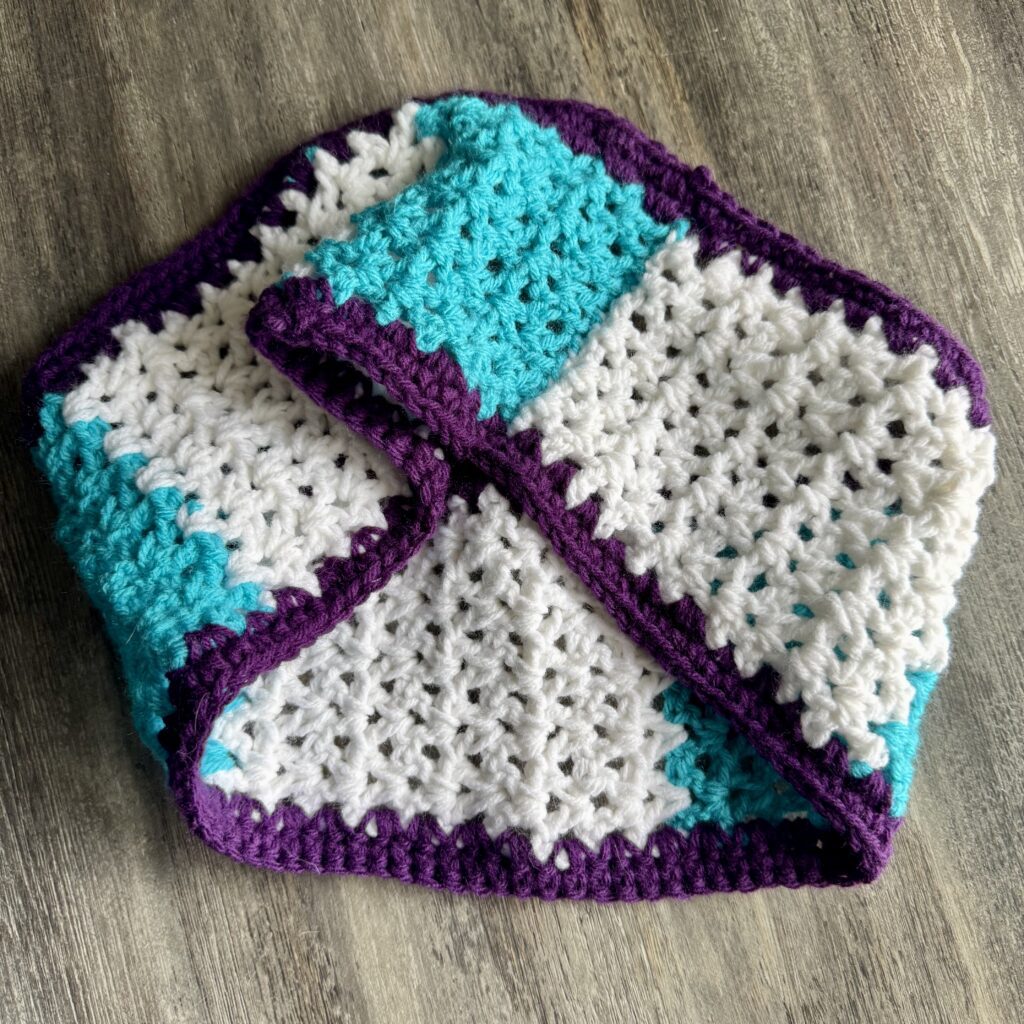
Crochet is a wonderful way to express creativity and unwind. Among its many stitches, the V-stitch is a fan favorite for good reason. This elegant yet straightforward stitch pattern creates a beautiful lacy texture that’s perfect for scarves, blankets, shawls, and more. The V-stitch is a must-try if you want to add a new technique to your crochet repertoire!
In this blog post, we’ll cover:
- What the crochet V-stitch is
- Materials and tools you’ll need
- Step-by-step instructions
- Tips for making your project stand out
- Ideas for using the V-stitch in different projects
1. What is the Crochet V-Stitch?
The V-stitch is named for the “V” shape that forms when you work two (or more) stitches into the same space. Typically, the V-stitch comprises two double crochets and a chain stitch (or sometimes two chain stitches) in between. This open, airy pattern is popular for lightweight projects. It’s especially great if you are looking to create something that drapes beautifully or has a little stretch.
Key Characteristics of the V-Stitch:
- Easy to learn, even for beginners.
- This can be modified by adding more chains in the center for an extra lacy effect.
- This works up quickly, making it great for larger projects like throws or shawls.
2. Materials and Tools You’ll Need
One of the joys of crocheting the V-stitch is its flexibility: you can use virtually any yarn weight and a corresponding hook size. Here’s what you’ll need to get started:
- Yarn: Choose a yarn weight suitable for your desired project. Worsted weight yarn (size 4) is a popular choice for beginners.
- Crochet Hook: Use the hook size recommended on your yarn label (often 5.0 mm/H for worsted weight). Adjust as needed for tension or to achieve a specific drape.
- Scissors: To snip off your yarn when you’re finished.
- Tapestry Needle (optional): To weave in ends neatly.
3. Step-by-Step Instructions
Below is a simple recipe for making a V-stitch swatch. Feel free to adjust the number of chains to make your sample larger or smaller.
Step 1: Foundation Chain
- Chain a multiple of 3 + 4.
- For example, ch 19 (that’s 15 + 4) if you’d like a small practice swatch.
Step 2: First Row Setup
- Double crochet (dc) in the 5th chain from the hook. This initial “turning chain” often counts as a double crochet in many patterns.
- Skip 2 chains, then in the next chain, work a V-stitch:
- [dc, ch 1, dc] all in the same chain.
- Skip 2 chains and repeat the V-stitch in the next chain.
- Continue this pattern (skip 2, [dc, ch 1, dc]) across.
- End with 1 dc in the last chain.
- Turn your work.
Step 3: Second Row (Establishing the Pattern)
- Chain 3 (counts as a dc).
- Look for the ch-1 space in the V-stitch from the previous row. In that space, work another V-stitch: [dc, ch 1, dc] in the ch-1 space.
- Repeat across each V-stitch from the row below.
- Finish with 1 dc on top of the turning chain from the previous row.
- Turn your work.
Step 4: Repeat, Repeat, Repeat!
- Continue as for the second row. Each row is simply working a V-stitch into the ch-1 space of each V-stitch below.
- Keep going until your piece reaches the desired length.
4. Tips for Making Your V-Stitch Project Pop
- Experiment with Color: Use variegated or self-striping yarn for an interesting visual effect. Or try changing colors in each row or every few rows for striking stripes.
- Play with Tension: The V-stitch can look different depending on your tension. Using a larger hook will produce an even looser, lacy effect—great for summery shawls.
- Edgings and Borders: For a neater finish, consider adding a border around your project. A simple single crochet or picot edging can highlight the lacy pattern.
- Blocking: If you’ve used a natural fiber such as wool or cotton, blocking can open up your stitches, making them look more defined and uniform.
- Gauge is (Sometimes) Important: For items that require precise measurements (like garments), make sure to check your gauge. Work up a small swatch and adjust hook size if needed.
5. Project Ideas to Use the V-Stitch
- V-Stitch Scarf: A straightforward project for beginners. Simple, elegant, and can be whipped up in no time.
- Lightweight Shawl: Perfect for spring or fall when you need just a little coverage. The openwork pattern adds a lovely airy feel.
- Baby Blanket: Using a soft, machine-washable yarn, the V-stitch creates a sweet baby blanket with a slight stretch.
- Afghan or Throw: If you’re eager for a bigger project, a V-stitch blanket is an excellent choice—quick to grow, and it looks stunning draped over a couch.
- Lacy Cardigan or Vest: With a bit of shaping, the V-stitch can be turned into wearable items that are perfect for layering.

Finishing Touches & Weaving in Ends
Once your V-stitch project reaches your desired size, remember to:
- Fasten off by cutting the yarn, leaving a 6–8 inch tail, and pulling it through the final loop on your hook.
- Weave in Ends using a tapestry needle, threading the yarn through the backs of stitches to secure.
Optional: Block your project to open the lace and even out stitches, especially if working with natural fibres.
Here is a video showing how to do the v-stitch.
