
Welcome to the world of crochet!
Today, we’re diving into the delightful world of corner-to-corner (C2C) crochet, a versatile technique that’s perfect for creating eye-catching rectangles with simple color changes. Whether you’re a seasoned crocheter or just starting out, this project is a fantastic way to add a splash of color and texture to your crochet repertoire. Grab your 5mm hook and medium weight yarn, and let’s get started!
Materials Needed:
- 5mm Crochet Hook: The perfect size for creating a sturdy yet flexible fabric.
- Medium Weight Yarn: Choose your favorite colors. For this tutorial, we’ll use two contrasting colors to highlight the color changes.
- Scissors: For cutting the yarn.
- Tapestry Needle: For weaving in the ends.
Step-by-Step Instructions:
1. Starting Your C2C Rectangle
- Foundation Chain: Begin with a slip knot on your hook. Chain 6.
- Row 1: In the 4th chain from the hook, work 1 double crochet (dc). Work 1 dc in each of the next 2 chains. You should have a small block of 3 dc. Turn your work.
2. Increasing Your Rectangle
- Row 2: Chain 6. In the 4th chain from the hook, work 1 dc. Work 1 dc in each of the next 2 chains. Slip stitch (sl st) into the top of the last dc from the previous row. Chain 3. Work 3 dc into the same space. Turn your work.
- Row 3 and Beyond: Repeat the process of chaining 6, working 3 dc, and joining with a slip stitch to the previous block. Each row will increase by one block, forming a triangle.
3. Introducing Color Changes
- Planning Your Colors: Decide where you want to change colors in your project. A good rule of thumb is to change colors at the end of a row.
- Changing Colors: When you reach the end of a row where you want to change colors, complete the last double crochet with the new color. Carry on with the new color as you start the next row.
4. Decreasing to Form a Rectangle
- Starting Decreases: Once your project reaches the desired width, it’s time to start decreasing on one side to shape your rectangle.
- Decreasing Rows: At the beginning of a row, slip stitch across the first 3 dc and into the chain 3 space of the previous block. Chain 3 and work 3 dc into the chain 3 space. Continue as usual across the row. This will decrease one block per row.
- Maintaining Shape: Continue to increase on one side and decrease on the other until your rectangle reaches the desired length.
5. Finishing Touches
- Final Rows: When your rectangle is the desired size, you will begin decreasing on both sides. Slip stitch into the chain 3 space at the beginning of the row, chain 3, and work 3 dc into the space. Continue until only one block remains.
- Weaving in Ends: Cut the yarn, leaving a tail. Use your tapestry needle to weave in all the loose ends securely.
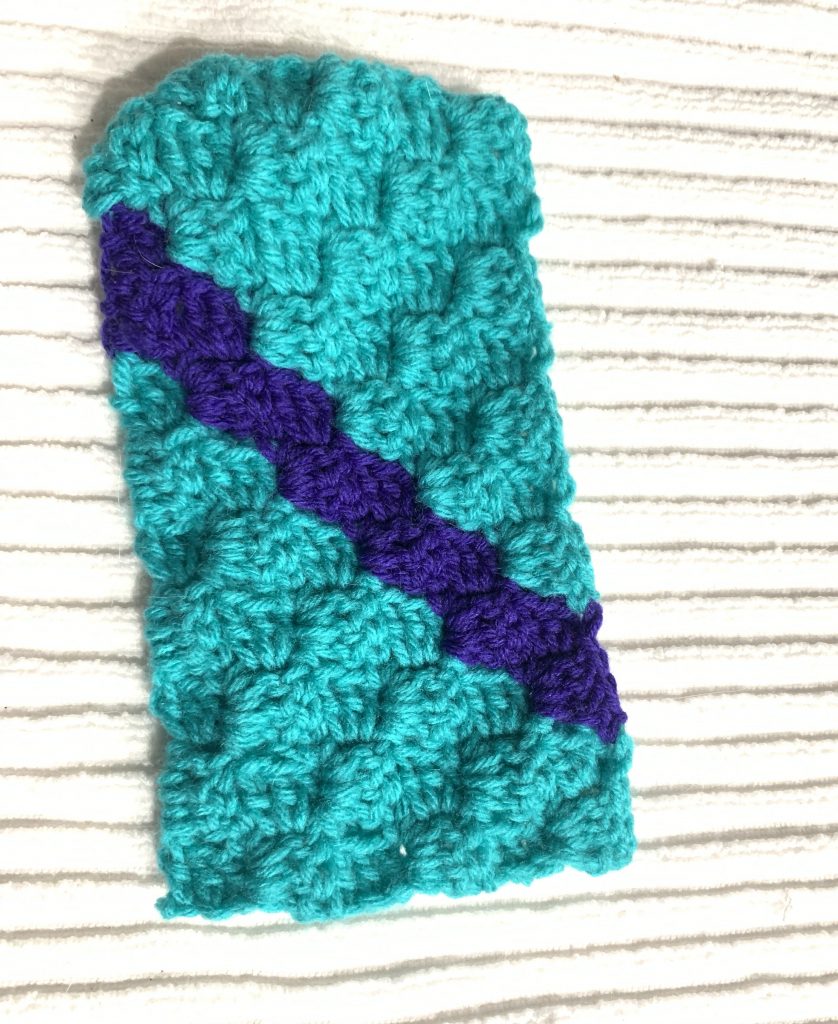
6. Admire Your Work!
Step back and admire your beautiful C2C rectangle. The simple color changes add a dynamic element to the piece, making it perfect for everything from blankets to pillow covers.
Tips and Tricks:
- Consistent Tension: Maintain an even tension to ensure your blocks are uniform.
- Color Management: If using multiple colors, keep your yarn organized to avoid tangling.
- Practice Makes Perfect: If you’re new to C2C, practice with a small swatch to get the hang of the increases and decreases.
Here is a video tutorial to help you started.
We hope you enjoyed this tutorial on creating a corner-to-corner crochet rectangle.
Don’t forget to share your finished projects with us on Instagram @Crochetsmash. Happy crocheting!
The form you have selected does not exist.